
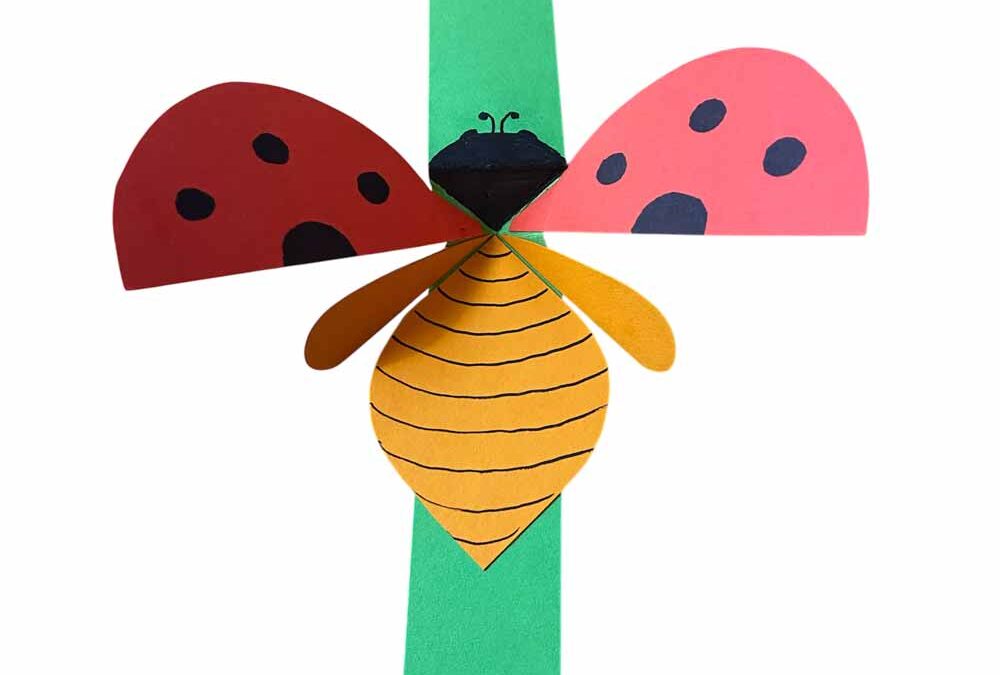
With just three different colours of card and some felt pens, you can create your own ‘flying’ ladybird that looks ready to take off! This simple craft includes a shape template, making it easy to bring your ladybird to life.
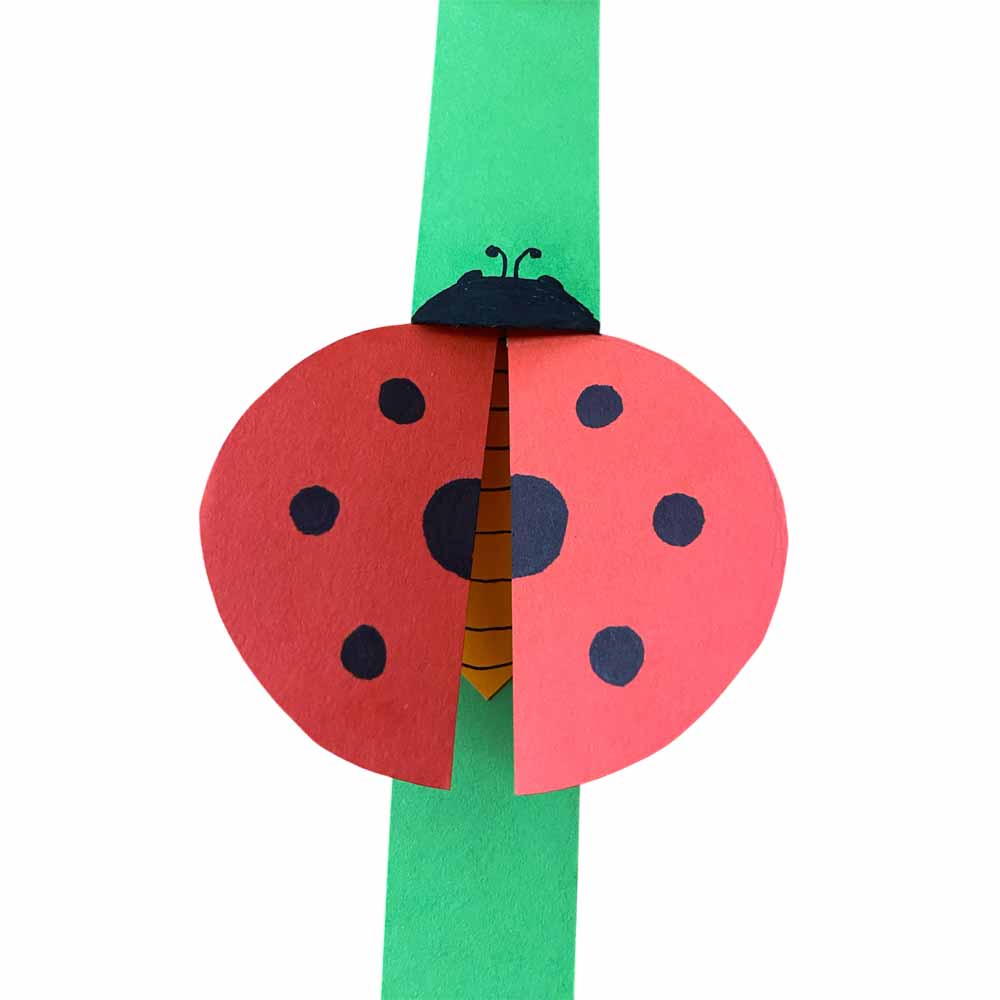
To make this fun ladybird, you will need green, red and orange card. However, ladybirds come in many different colours, so use whatever colours you have to hand.

You will find a template HERE to help you cut out the six pieces shown. Print it out on a piece of A4 paper, cut out the 6 shapes and draw round them onto your card. If you are unable to print the template, the sizes are included on the pieces shown here, so you can make your own template.
Fold the green piece of card in half then fold the two folded corners down so they meet as shown. Fold them back on to the other side of the card in the same way, then you should be able to tuck them inside the folded card as shown.


Lay the card flat and fold up the top half just below the folded triangle and press it flat. Now, when you pull and push the two ends of the green card, the folded section in the middle opens and closes.


Glue the orange body on to the green card so that it fits right into the centre of the folds. Then glue the orange flight wings in place as shown.


Glue the pointed ends of the red outer wings in place as shown but check that the two halves meet perfectly when the wings are closed, and adjust if necessary.

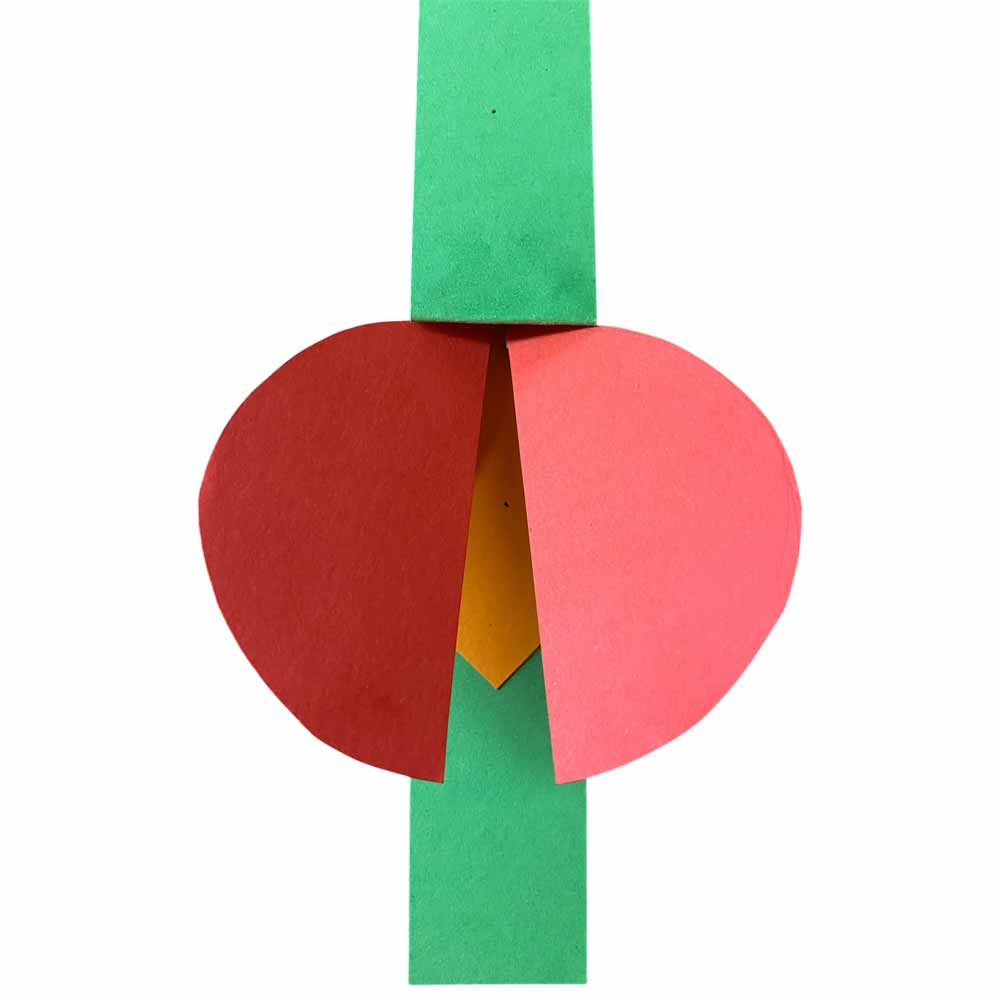

Now to decorate your ladybird. Draw a head on the green card as shown then you can add spots wherever you want them.